Are you tired of spending money on tanning mitts that wear out too quickly? Or your trusty tanning tool has just gone missing? Worry no more, because we’ve got your back with our top 6 DIY tanning mitt alternatives!
These cost-effective and eco-friendly options will not only give you a flawless sun-kissed look but also make your self-tanning experience hassle-free.
Key Takeaways
- There are cost-effective and eco-friendly alternatives to tanning mitts for applying self-tanner, including makeup brushes, rubber gloves, socks, beauty blenders, or even your bare hands.
- Using sustainable options like reusable tanning mits can reduce your carbon footprint and save money in the long run.
- To achieve a flawless tan without using a tanning mitt, it’s essential to prepare your skin beforehand by exfoliating and moisturizing. Taking your time to apply the product in small sections and blending well can help avoid streaking or patchiness.
Contents
6 Best Tanning Mitt Alternatives
Need an alternative to a tanning mitt ASAP? Check out these quick DIY products you can grab from home to apply your tan with precision and ease.
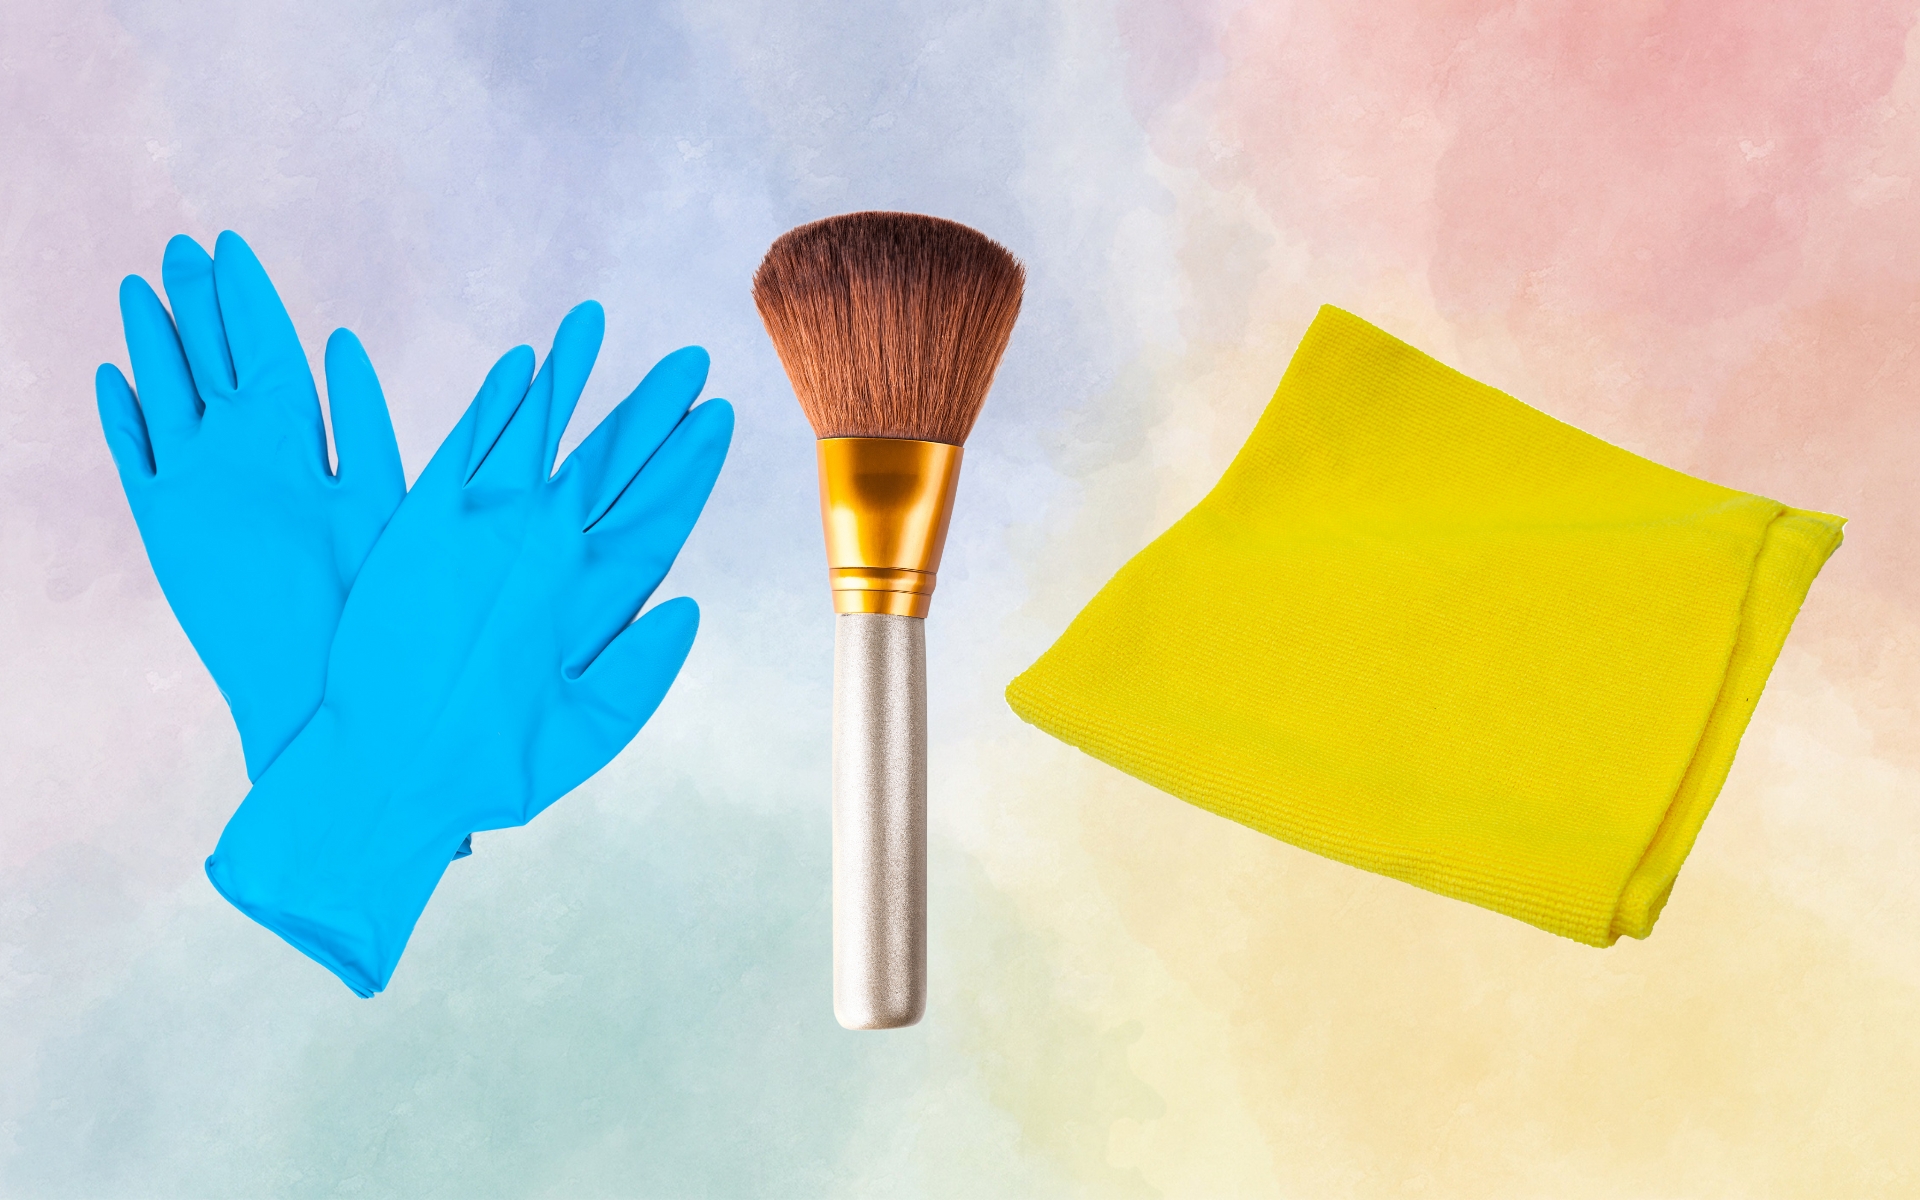
Large Makeup Brush
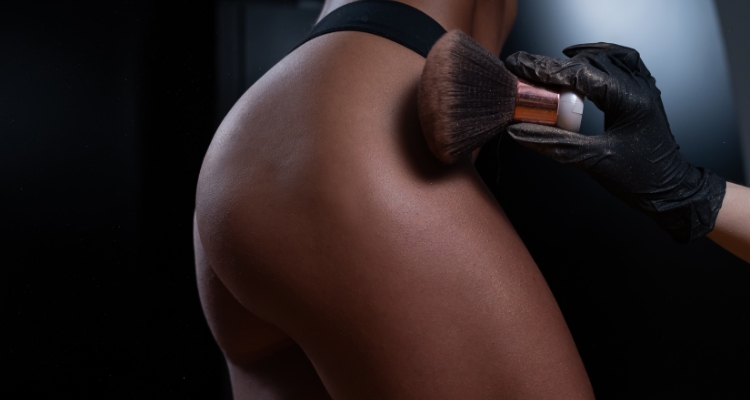
One top tanning mitt alternative that may surprise you is the use of a large makeup brush. With its soft and dense bristles, it can provide an even distribution of self-tanner across your skin without causing any streaks or patches.
Due to its size, this mitt alternative is more suitable for small surface areas such as your face, hands, or feet. Since trying it, I always opt for this application when it comes to fake tanning my face, just apply it as you would foundation!
This technique allows you to create a natural-looking sunless tan while avoiding any potential mess or stains on your hands from direct contact with the tanning product.
Rubber Gloves
Rubber gloves, commonly found in most households for purposes such as cleaning and dishwashing, are one of the top tanning mitt alternatives that can help you achieve a smooth and streak-free tan.
Using rubber gloves is quite simple – just slip them on as you would for any other task, apply some sunless tanner to your glove-clad hands, and gently rub it onto your skin in circular motions.
It’s important to only use a small amount of product for this option, as the glove will not absorb any product like your average tanning mitt does slightly.
This method not only helps avoid unwanted streaks but also keeps your hands clean during the process. Additionally, latex’s non-porous nature prevents self-tanner absorption into the gloves, preserving more product for actual use on your body.
Microfiber Cloth
A microfiber cloth is an easily accessible item found in most households. Made from ultra-fine fibers designed to absorb and distribute liquids evenly, they offer a streak-free application for self-tanning products.
Microfiber cloths are well-suited for self tanning because they’re gentle on the skin and can be laundered between uses, ensuring hygienic application techniques each time.
This material efficiently distributes even amounts of DHA, a common ingredient in indoor tanning solutions whose safety is still being researched. Its excellent absorption capabilities minimize product waste while achieving the perfect tan shade desired.
Socks
Socks are a surprising yet effective alternative to tanning mitts when it comes to achieving an even self-tan. Not only are they readily available, but they can also be worn on the hand like a mitt, allowing for easy application without worrying about dropping your applicator mid-tanning session.
To use socks as a tanning alternative, slip a sock onto your hand and apply self-tanner just as you would with a traditional tanning mitt. The soft material of most socks allows the product to spread evenly across the skin, leaving behind a streak-free and natural-looking tan.
Be sure to start with a small amount of product and work your way up, and opt for black socks to avoid staining! If
Beauty Blender Or Makeup Sponge
A beauty blender or makeup sponge is another great alternative to tan smaller surface areas on your body. These sponges help blend the product evenly and create a flawless, airbrushed look on your skin.
To use, simply dampen the sponge and squeeze out any excess water, add a small amount of tan to a wipeable surface such as a lid or even a small amount on a tissue. Dip the blender into a small amount of self tan and apply with small, quick dabs.
One of the benefits of using a beauty blender or makeup sponge for self-tanner is that it can help prevent streaking and uneven patches. With its unique texture, these sponges absorb excess product while blending it seamlessly into your skin.
Bare Hands
Using your bare hands to apply self-tanner can be an effective alternative to using a mitt. However, it is important to follow instructions carefully to avoid an uneven tan.
Start by washing your hands thoroughly and make sure they are completely dry before applying the tanner. Apply a small amount of tanner at a time and work quickly, making sure to blend evenly onto your skin.
One benefit of using your hands is that you have total control over the pressure applied while spreading the product on your skin. This method also reduces waste as the self-tanning solution will not get absorbed into another tool or material.
There is, however, the risk of the dreaded orange hands. To avoid this wash the palm of your hands as soon as you have applied the tan, using a washcloth or exfoliator to scrub if you have one to hand. Towel dry (not a white one!) the palm of your hands and pat dry the top of your hands if they have got wet during washing.
How To Use Tanning Mitt Alternatives Effectively
To achieve the best results with tanning alternatives, it’s important to prepare your skin beforehand and apply the self-tanner in sections, taking your time to blend well and avoid streaking.
Prepare Your Skin Beforehand For Best Results
To achieve the best results when applying a self-tanner without a mitt, it’s essential to prepare your skin beforehand. This will ensure that your tan looks even and lasts longer.
Firstly, exfoliate your skin using an exfoliator or sugar scrub to remove any dead skin cells that may prevent the tanning solution from adhering properly to your skin.
Secondly, moisturize your skin before applying the self-tanner. However, avoid using any oil-based lotions as they can prevent the tanning solution from developing well on the surface of your skin.
Once you’ve completed these steps, make sure that you let them dry completely before starting with the self-tan application process.
Take Your Time And Apply In Sections
To achieve a flawless self-tan, it is important to take your time and apply the product in sections. Rushing through the application process can lead to uneven coverage and streaks.
After applying a small amount of tanner, blend it well using circular motions until you have achieved an even application before moving on to the next section. Applying too much product at once can also result in patchiness or blotchiness, so be sure to use a light hand.
Blend Well To Avoid Streaking
One of the most important things to keep in mind when using tanning mitt alternatives is to blend well. Streaky and uneven application can be a common issue when applying self-tanner with bare hands, makeup sponges, or brushes.
Blend the product in circular motions, making sure that you don’t leave any spots untouched. Try to use light pressure on your skin and avoid rubbing too hard as it can cause patchiness and streaks.
Don’t forget to pay close attention to tricky spots like elbows, knees, ankles, and feet where product buildup can occur quickly.
Moisturize After To Keep Your Skin Healthy
After applying self-tanner, it’s important to moisturize your skin thoroughly. Self-tanners can be drying and may leave your skin looking patchy or feeling rough, so a quality moisturizer is essential for maintaining your tan’s longevity and keeping your skin healthy.
Look for lotions with natural ingredients like shea butter, coconut oil, or argan oil that are rich in vitamins and antioxidants to nourish your skin from the inside out.
Apply the moisturizer all over your body after you’ve applied the self-tanner and let it absorb into your skin before getting dressed.
Protect Your Clothes And Surfaces From Stains
One of the biggest downsides to using self-tanner without a mitt is the risk of staining your clothes and surfaces. To avoid this, it’s important to take some precautions.
Firstly, choose an area with ample lighting and lay down towels or a plastic sheet to protect your flooring.
Secondly, apply petroleum jelly on areas like elbows, knees, and ankles where the tan tends to accumulate. This ofcourse isn’t compulsory, but advised to avoid patchy areas!
Lastly, make sure to wash off any excess tanner from your hands before touching anything else as they are more prone to staining compared to other parts of the body.
Long-Term Tanning Mitt Alternatives
Whether it’s skin sensitivities, eco-consciousness, or you have just had enough with using a regular tanning mitt. Here are 3 long-term alternatives for applying your that will likely last longer and save you some money!
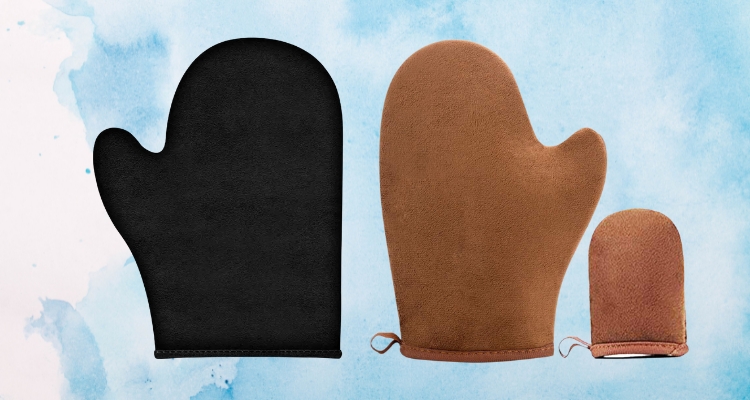
Machine Washable Tanning Mitts
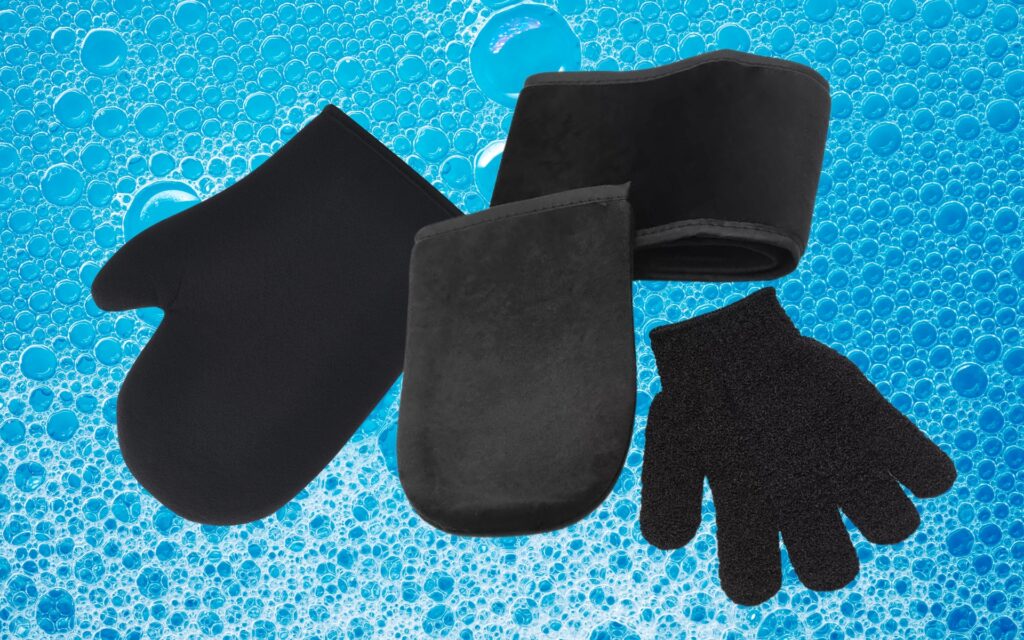
Machine washable tanning mitts are a convenient and practical option for applying self-tanner. These mitts are specifically designed to provide a smooth and streak-free application while protecting your hands from any unwanted stains.
The best part is that they are easily washable, allowing you to maintain their cleanliness and hygiene. Simply toss them in the washing machine after each use, and they will come out fresh and ready for your next self-tanning session.
The machine-washable feature ensures that any residual self-tanner is effectively removed, preventing cross-contamination and ensuring a clean application every time.
Silicone Applicators
One of the most popular alternatives to tanning mitts is silicone applicators. These handy tools come in a range of shapes and sizes, from small finger-sized pads to larger oval or rectangular shapes that resemble traditional mitts.
Silicone applicators work well for applying self-tanner to different areas of your body, including hard-to-reach spots like your back and shoulders. They also make it easy to blend out any streaks or uneven patches for a smooth finish.
Plus, they’re reusable and easy to clean – just rinse them off with soap and water after each use.
Self-Tanning Wipes Or Towelettes
One of the easiest and most convenient alternatives to traditional tanning mitts are self-tanning wipes or towelettes. These products come pre-moistened with a self-tanner solution, making it easy to apply without worrying about getting the product all over your hands.
They are also great for on-the-go touch-ups or when you need a quick touch of color before going out. One downside is that they may not offer as much control as other methods, so it’s important to work in small sections and blend well for an even finish.
Why Consider Using Tanning Mitt Alternatives?
Cost-Effective Options
Using tanning mitt alternatives is not only practical but also cost-effective. Buying a tanning mitt can be expensive, especially when you have to replace it frequently. In addition, some people may find it too costly to use self-tanner on a regular basis due to the price of the product itself.
For instance, makeup sponges can be purchased in bulk for just a few dollars and work well for applying self-tanner evenly on your skin. Rubber gloves are also an excellent option as they’re inexpensive and prevent stained hands after application.
Sustainable Options
Tanning mitts are usually made of synthetic materials that can take centuries to decompose and may harm the environment. If you’re environmentally conscious, there are several sustainable options available for tanning without a mitt.
Conclusion: Enjoy A Beautiful And Safe Tan With These Tanning Mitt Alternatives
In conclusion, whether you’re looking to save money, be more sustainable, or simply can’t find your tanning mitt, these six DIY alternatives are perfect for achieving a flawless self-tan.
From using makeup sponges and brushes to rubber gloves and even bare hands, there’s an option for everyone. Remember to take your time and follow our tips on preparing your skin beforehand, blending well to avoid streaking, and moisturizing after application.
Tanning Mitt Alternatives FAQs:
How can I ensure my tan comes out evenly without using a tanning mitt?
It is important to exfoliate and moisturize prior to application, as well as use small circular motions while applying the self-tanner with your chosen alternative method. Taking breaks between sections and blending thoroughly can also help avoid uneven coloration.
Can I reuse any of these DIY tools after applying self-tanner?
You should avoid reusing any tool that has come into contact with self-tanner as this can lead to an uneven application or unwanted streaks in future uses as they are not designed specifically for tanning. It’s best practice to replace or thoroughly clean these tools prior to the next use.
Are there any particular types of self-tanners that work better with certain DIY methods than others?
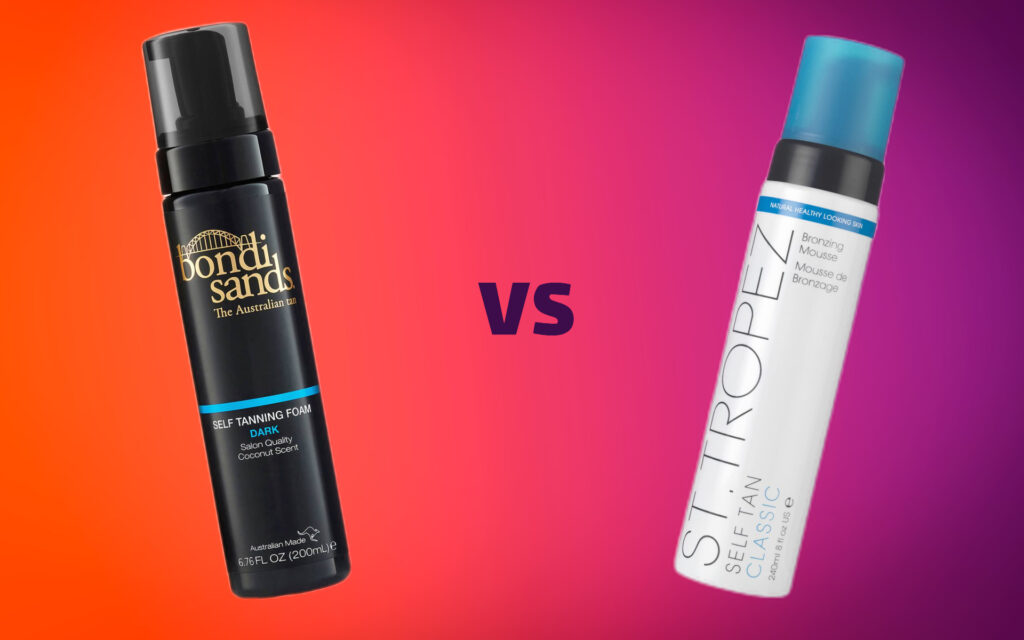
Based on product consistency and absorption rates – foam/self-spraying/self-drying lotions generally tend to apply easier than thicker products without a mitt.
